|
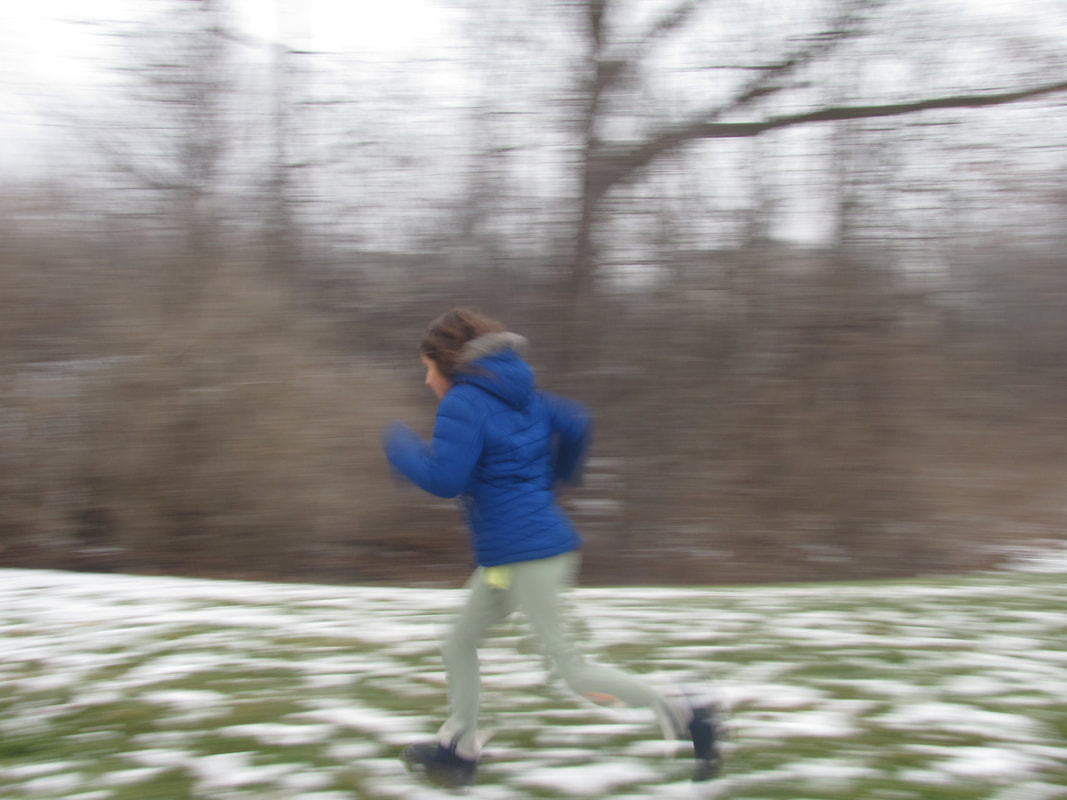
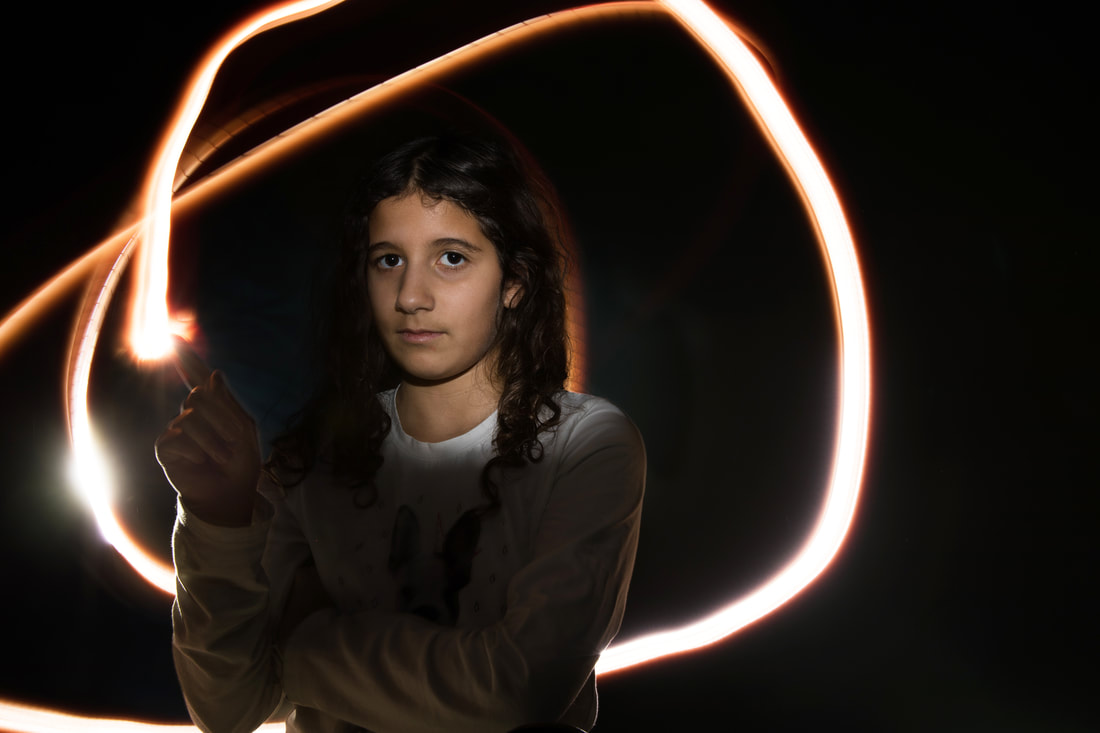
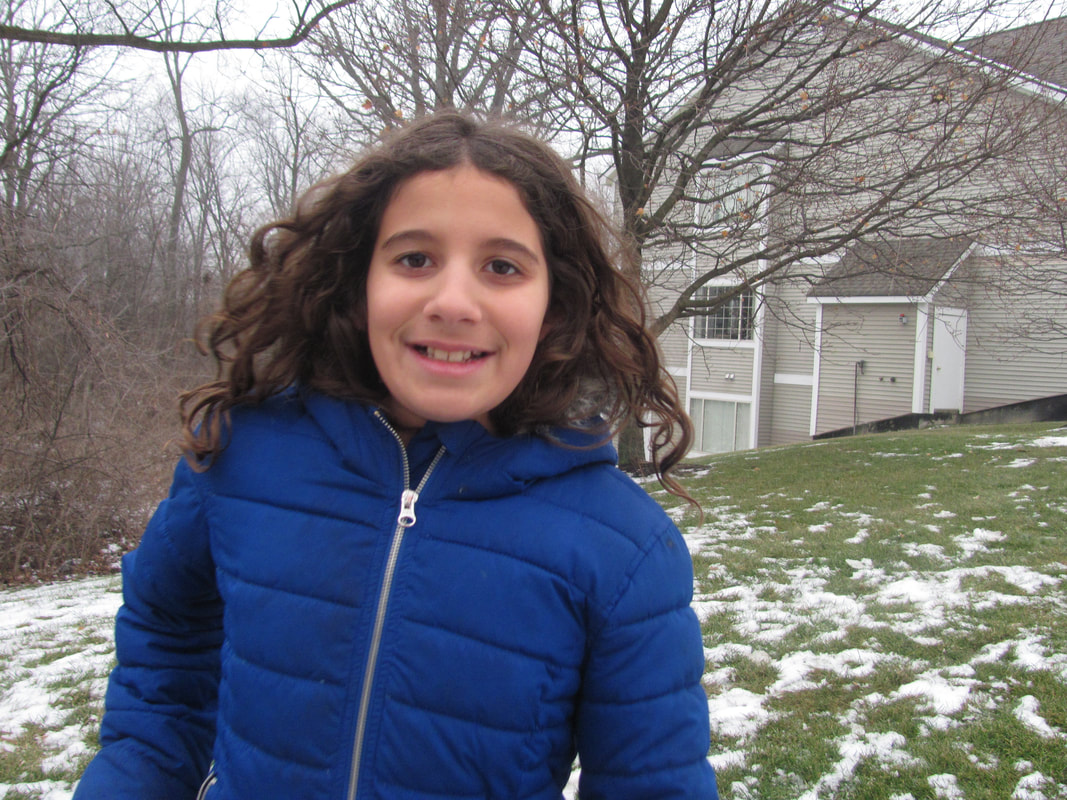
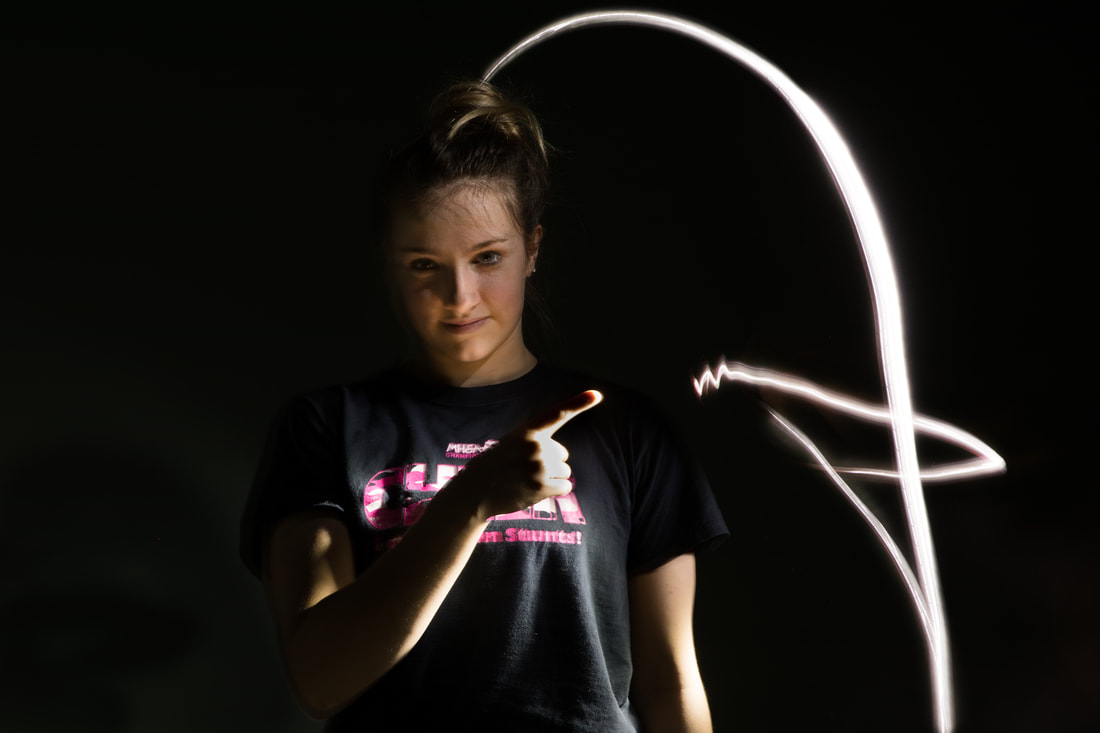
3/9/2018 0 Comments Final Post"Get your cameras from the cabinet and go take some pictures." The day I heard those words, I felt completely and utterly out of my element. It was early on, still just the first week of the trimester, and I truly didn't have a clue what I was doing as I wrapped the camera's string around my wrist and ventured into the school hallways. What was I even supposed to take pictures of? Maybe the auditorium stage, I thought. Nope, too dark. What about the flags? I thought next. Nope, the movement makes them blurry. The library books? No, the colors are too dull. Wait a minute, why isn't it going? Oh, hold on, I pressed the zoom thing by accident. Location after location, subject after subject, I ran into problems, none of which I was sure how to solve. Even when I did manage to take a picture, it never looked quite right to the eye. I felt defeated, discouraged that the class was not as easy as I'd anticipated, and concerned that I wouldn't be able to improve. Maybe photography simply wasn't my thing. In one sense, I was right: the course definitely wasn't easy. In the other, I was wrong: I have definitely improved. From the first photo I snapped, when I could hardly hold the camera still, and words like "shutter speed" and "aperture" sounded like a foreign language . . . to my light painting portrait, when carefully chosen camera settings lent themselves to the magical effect seen below. If I could travel back to that first time I held the camera, I would have a solution for every issue that came up: Too dark? Switch into manual and manipulate the exposure triangle. Unwanted motion blur? Increase the shutter speed. Dull coloring? Adjust the saturation levels in Photoshop. While I am still by no means an expert, I have grown so much, and twelve weeks worth of progress can be seen below. Below are some of my worst photos. Some are so blurry that my sister's body appears faded and wispy, others awkwardly positioned so her face is turned away from the camera. Several are plagued by distracting backgrounds and digital noise. The last couple are so brightly lit that you can hardly make out the full scenes. On the opposite end of the spectrum, this second slideshow displays my best photos. These were deliberately positioned, rather than snapped at moment's notice. The technical aspects (exposure, color, etc.) are properly set, and different composition factors (space, rule of thirds, etc.) are at play. I put so much time and effort into these shots -- both during the photo shoot itself and the editing process -- and I'm proud of the way they turned out. My Photoshop skills have skyrocketed as well. I remember opening the app for the first time and feeling a bit queasy at the sight of the endless tool bars. In the beginning, it was just as annoying as I expected it to be. The keyboard shortcuts didn't stick for me, and I couldn't seem to get a grip on many of the tools (especially Quick Selection). My first Photoshop assignment (seen below) has rough and uneven edges; I erased half of my sister's hair, and we look out of place against the solid black background. By the fourth assignment, however, I felt shakily confident in utilizing the basics. Photo-shopping our school balcony into a Parisian park ended up being my favorite task this trimester: I was pleased with how clean and polished the sky/scenery/grass edges turned out, and I love the added detail of the girl's shadow. At this point, I no longer need step-by-step instructions when using Photoshop; I can problem-solve my way through different projects using the techniques I've already learned. In the end, the biggest lesson I've learned doesn't concern ISO's or layer masks -- while those factors are important, I've realized more than once that photography is more than the sum of those simple parts. Rather, it is an art form. It helps to enhance our current reality, to capture details that may otherwise go unnoticed, and to forever appreciate a moment by freezing it in time. At the same time, it allows us to create visions of worlds that we wish to see, worlds in which we have three identical clones and our school windows overlook the Eiffel Tower . . . the camera is a powerful tool indeed.
0 Comments
3/7/2018 0 Comments Photoshop 7 ~ Portrait DemoMy last Photoshop project involved a crash course in portrait photography. I was shown how studio lighting is generally set up, as well as how to mimic that effect with natural window lighting and a reflection sheet. My ultimate goal was to take two portraits, with both sides of the model's face properly exposed and her body properly positioned inside the frame (standing a bit in front of the background, head near the top edge, and shoulders stretching almost side-to-side). Finally, I constructed the black-and-white frame in Photoshop. 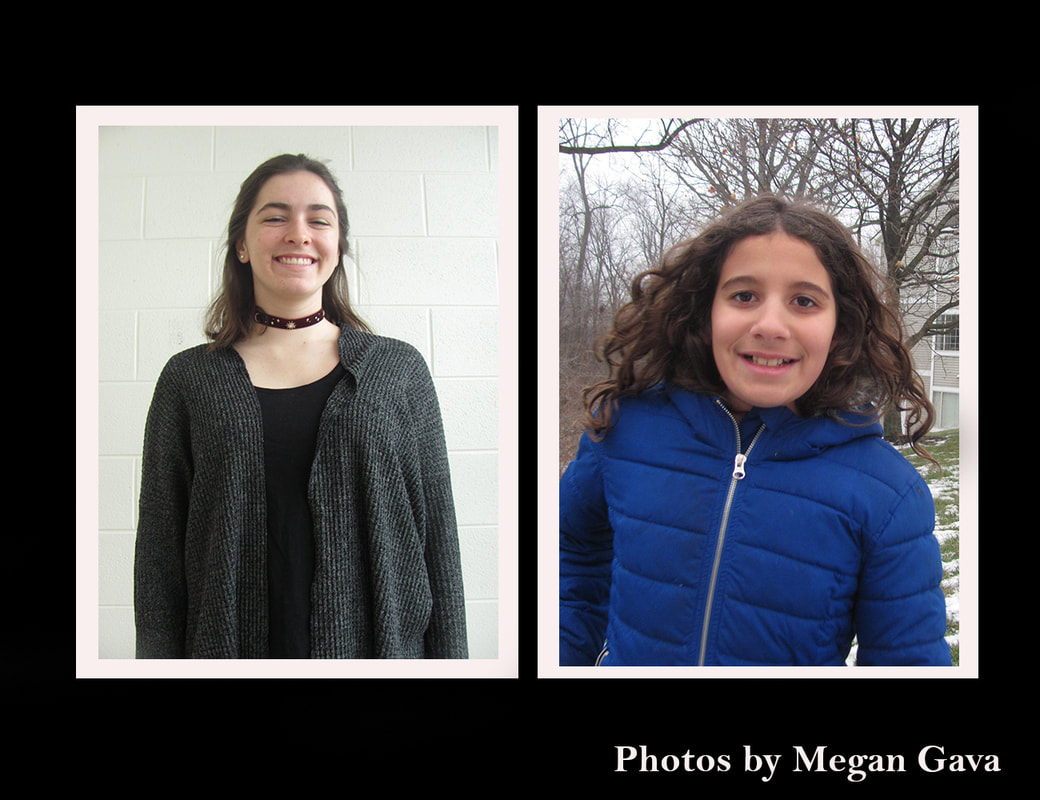 Overall, this assignment was simple. My model and I got lucky with lighting (in a back stairwell, of all places), and the second photo was pulled from a previous portrait shoot. Inserting the frame was easy, as well. I opened a new canvas, adjusted its dimensions, painted it black, and inserted the two portraits on top. Then, I used the rectangle tool and a white paintbrush to create the portraits' individual frames. Finally, I added my name, arranged the layer stack, and voilà!
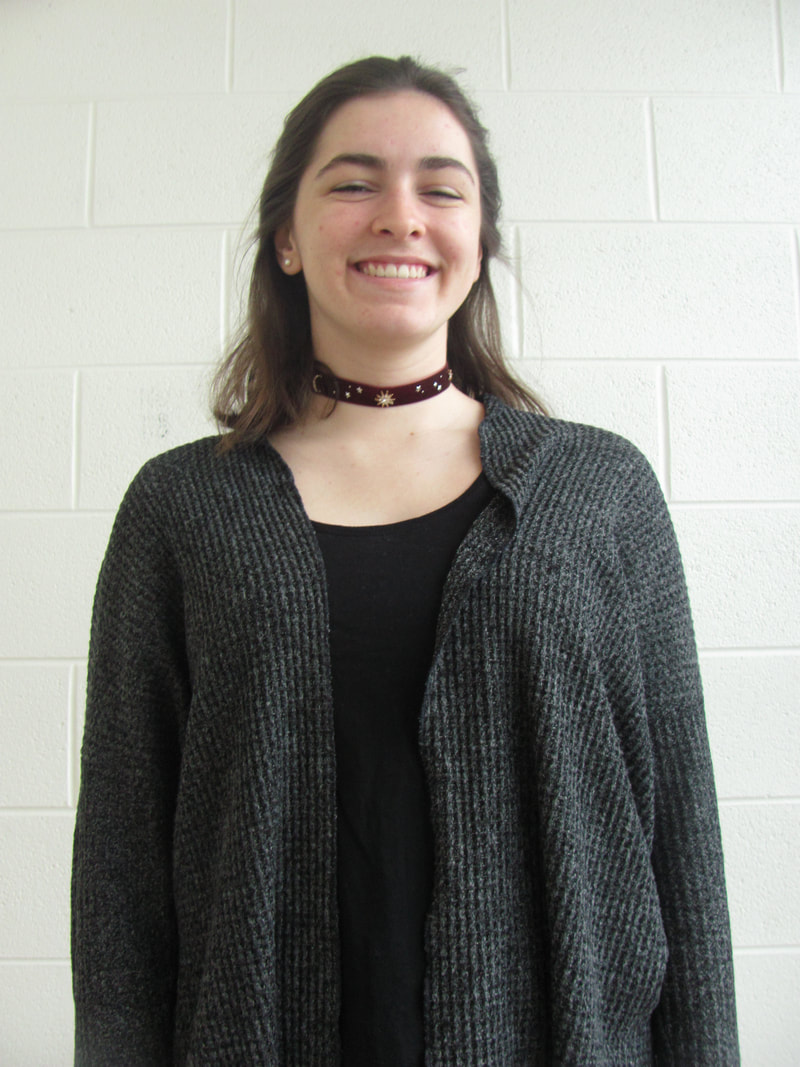
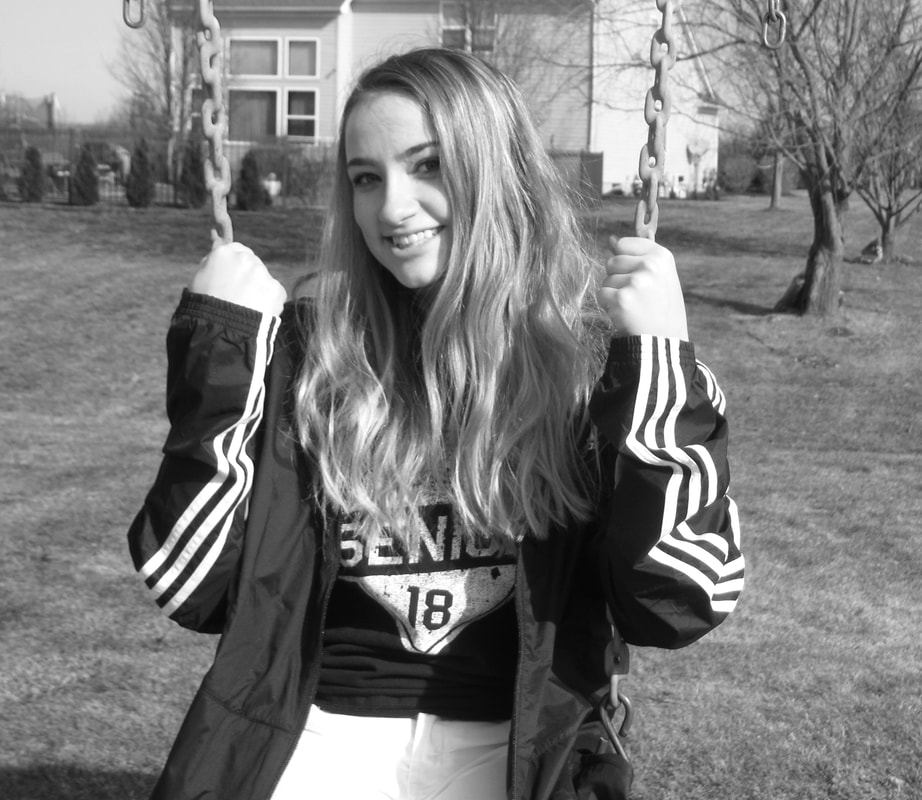
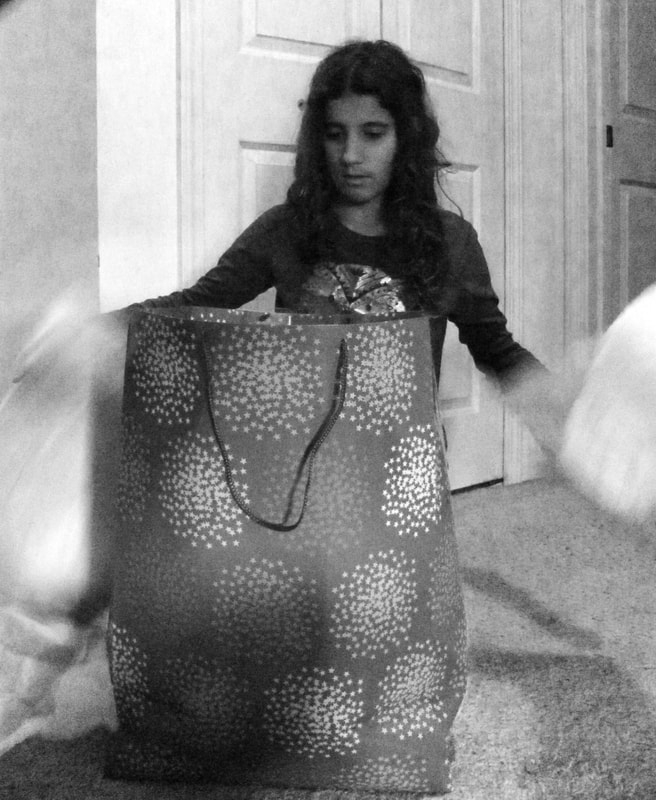
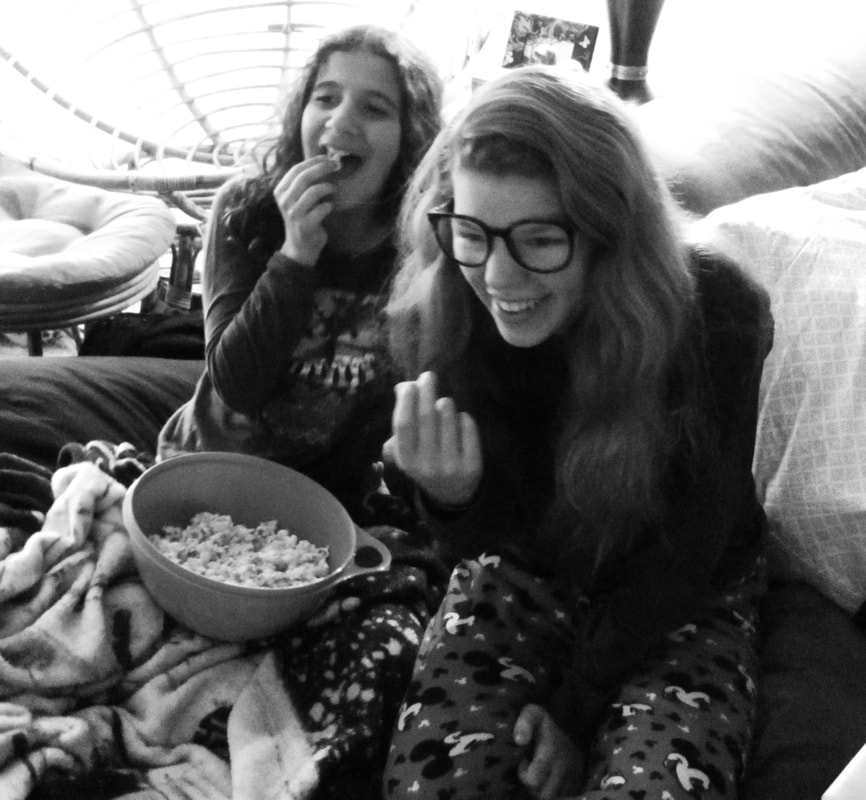
3/5/2018 0 Comments Photo 7 ~ Black & WhiteFor my final photo assignment, I decided to go a bit old-fashioned : I collected an assortment of photos from the past 12 weeks and filtered them into black-and-white on Photoshop. In doing this, I found that only one type of black-and-white photo truly appealed to me: those that involved people as the subjects. In still shots of objects and landscapes, color is often the main source of interest and aesthetic. Take that away, and the image seems dull. People, on the other hand, retain their personality, whether showcased in color or not. Aperture: f 3.5 ISO: 80 Shutter Speed: 1/400 Editing: added black-and-white layer, cropped, upped brightness/contrast When choosing photos for this assignment, I had to select shots that I hadn't previously turned in or blogged -- in other words, the photos that weren't my best work. I was concerned about this, yet I ended up pleasantly surprised. The desaturated layer made certain technical issues that had skewed the original colored photo -- such as glare spots and lighting imbalances -- less noticeable. It was, perhaps, the easiest Photoshop tool I've utilized this trimester (although it unfortunately didn't help to mask digital noise).
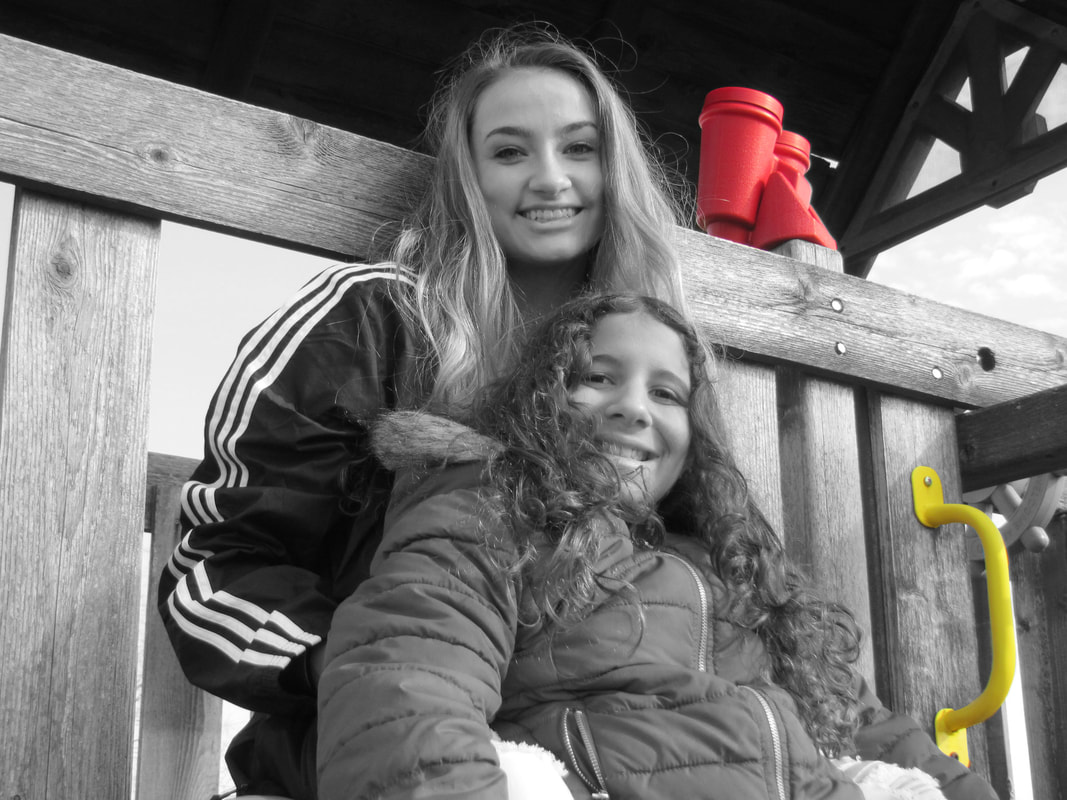
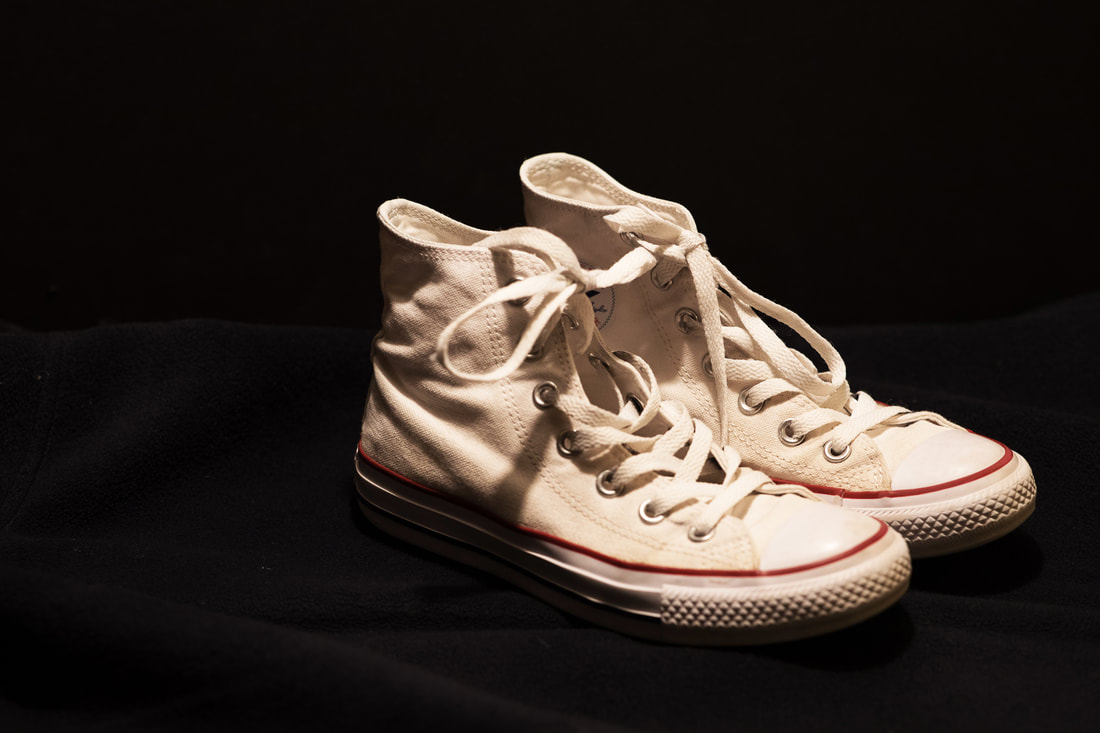
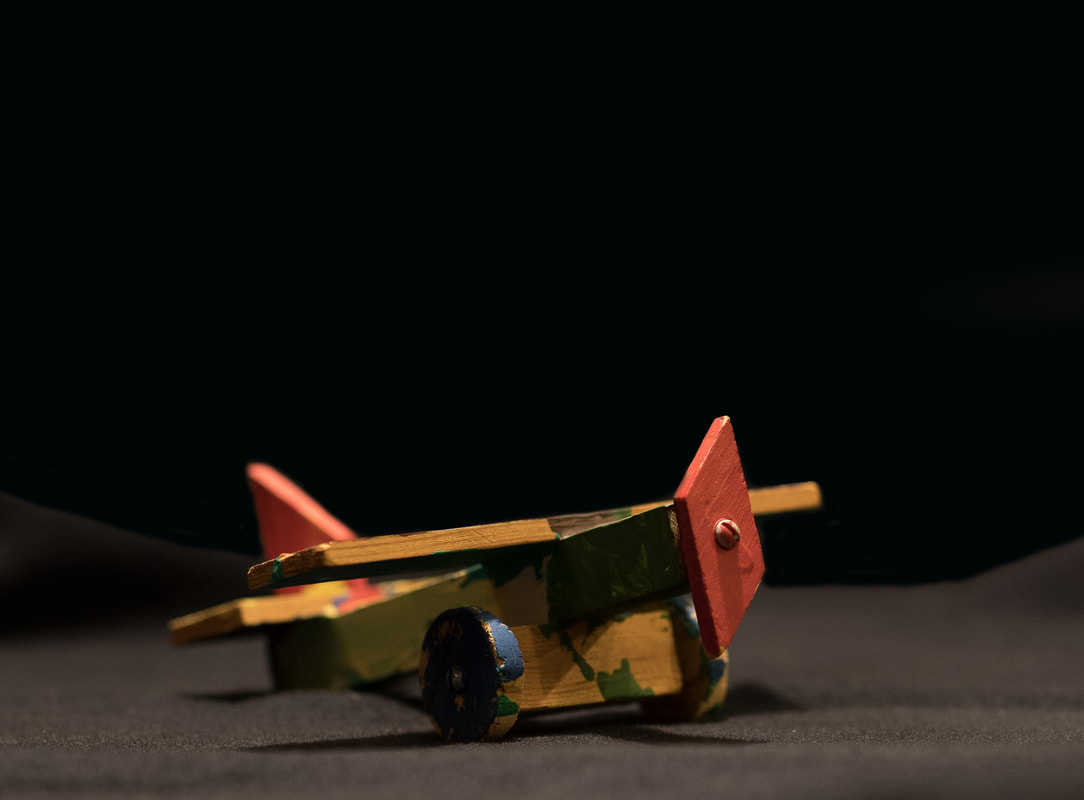
I also experimented a bit with the "dash of color" technique that I learned last week -- in the photo of my sisters at the playground, I left the binoculars and the monkey bar handle in full, vibrant color. It adds a bit of brightness to the picture, as well as a touch of youth. 2/27/2018 0 Comments Photoshop 6 ~ Open TutorialsThis week, free reins to Photoshop were placed in our hands. Armed with a list of available tutorials and the worldwide web, we were to self-select several projects to complete. My choices were : 1) Dash of Color This project involved only 2 steps. First, I desaturated the full photo with one click of a button; then, I used the history brush to paint over and restore color to an area of my choice. Quick and easy as it was, I can see this being a versatile and applicable technique in the future. 2) Screen Jump My second endeavor was lengthier. After selecting the TV screen and pasting the biking photo into its perimeter, this project dove into a series of adjustment steps involving layer mask disables, layer opacities, and image size/position. I then lassoed the areas of the biking photo that would appear 3D and filled them with white. Finally, backtracking through the previous adjustment steps restored the layer masks and opacities, ultimately lending the "screen jump" illusion. Overall, this assignment was fairly simple -- the hardest aspect was finding an action shot that would lend itself well to being "popped." 3) Mythical Landscape The third time definitely isn't the charm. Everything about this final project infuriated me. It involved a vast variety of techniques ( gradients, pen curves, path strokes, etc. ) and what seemed like endless adjustments made to layer opacities, tool sizes, and blending modes. Perhaps things would have been easier if my tutorial had been a better instructor: the author didn't provide photos of layer stacks, tool bars, or anything else useful -- only images of what final products should look like. Thus, a third of my time was dedicated to hunting and pecking for obscure tools, another spent re-arranging layers through pure trial and error. In the end, the image didn't even look as it was meant to -- my version is more garish and more psychedelic than the example. In short, nothing about this transformation felt magical. 2/26/2018 0 Comments Photo 6 ~ Still LifeMeant to resemble advertisement photographs, still-lives are shot against a blank background with studio lighting. Any inanimate object can be utilized as a subject, so long as the photographer can make it pop on camera -- in capturing still-lives this weekend, that was my ultimate goal. Aperture: f 4.5 ISO: 1250 Shutter Speed: 1/60 Editing: cropped, upped the brightness/contrast, painted the background I expected this assignment to be similar to macro. In a technical sense, I was right: both types of photo worked well with a rapid shutter speed and a large aperture/small depth of field. In a second sense, however, I was wrong: macro and still- life are vastly different. Still-lives, for example, require a great deal more set-up. Since one isn't shooting up close, the back/foregrounds matter. My dad's wrinkled jacket and the pockmarked poster-board that I used were a chore during editing: increasing the photo's brightness made those flaws more evident, and I ended up having to conceal them with a black paintbrush tool. Additionally, still-lives simply weren't as interesting as macro shots were. Devoid of the details that a macro lens showcases, these inanimate objects seemed their ordinary selves.
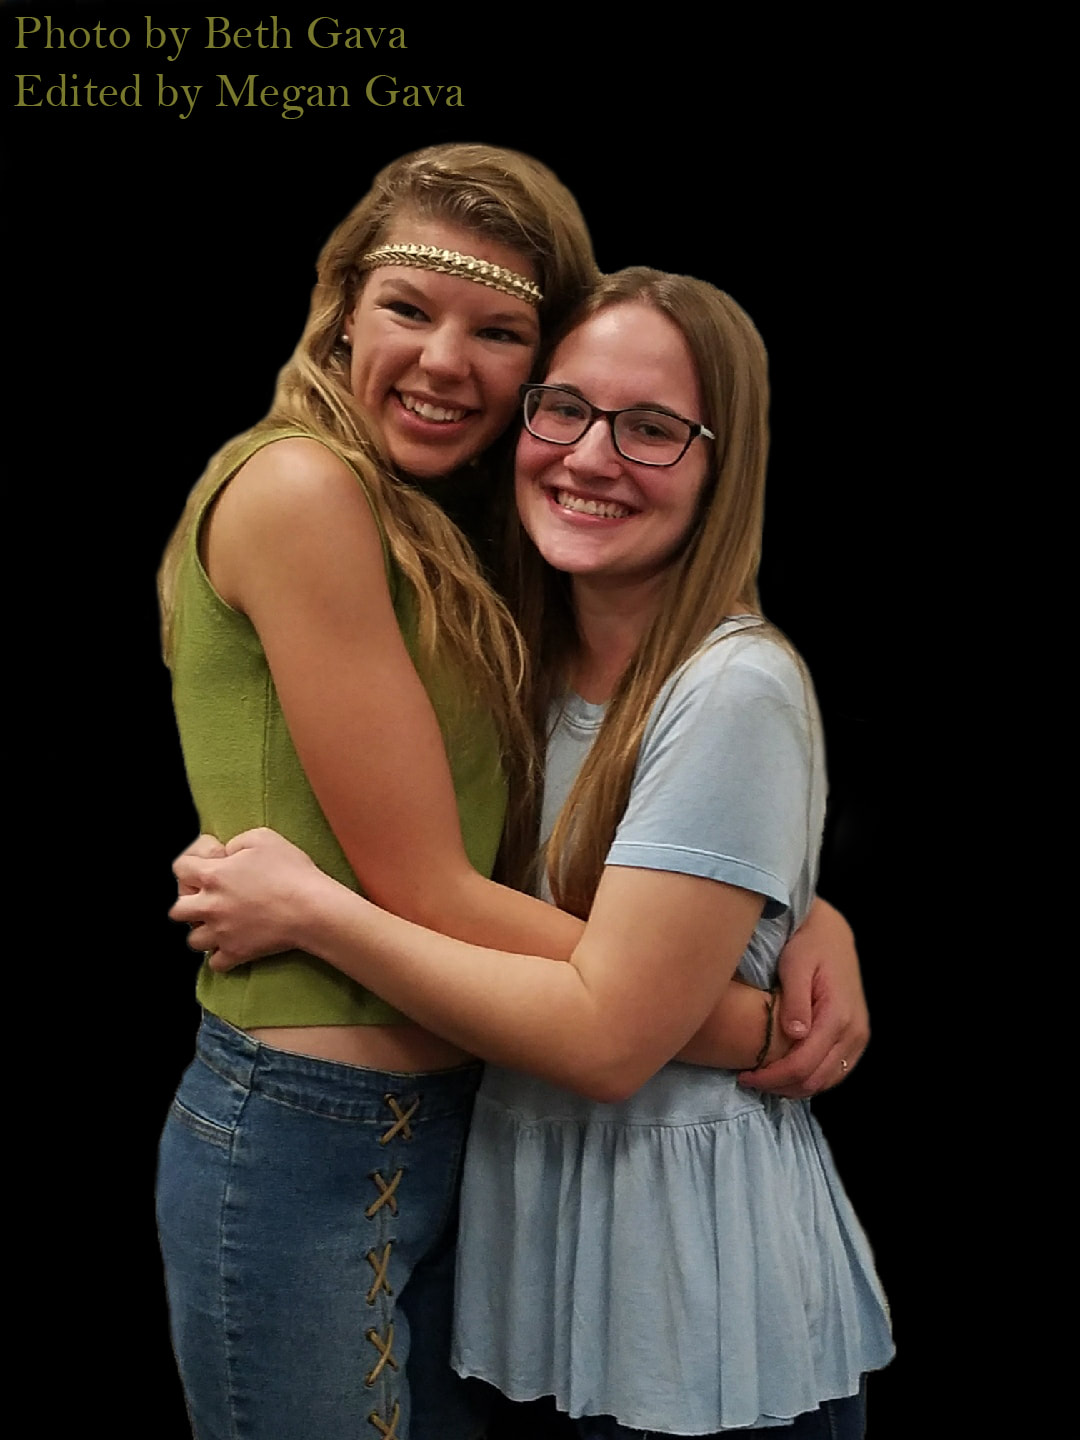
2/22/2018 0 Comments Photoshop 5 ~ Multiple MeAnother week, another Photoshop assignment. This time around, I inserted multiple versions of ourselves (or of somebody else) into a single frame. Several guidelines were given to me: 1) The camera needed to be secured to a tripod, to prevent slight shifts in perspective/positioning 2) The camera needed to be in manual, landscape mode 3) Lighting, zoom, and surroundings needed to remain constant throughout the shoot 4) The background needed to be free of moving objects With those requirements met, I was to take 5 shots: 1 of an empty room, followed by 4 of somebody in different spots around that room. My younger sister (once again) posed as my model. Finally, I loaded those 5 shots into Photoshop and followed step-by-step instructions for transforming my sister into a quadruplet. Overall, this assignment wasn't difficult. The only aspect that gave me pause was finding an area wide enough for taking photos: several times, I found that there wasn't enough room to position my sister in 4 different ways without one pose overlapping/blocking another.
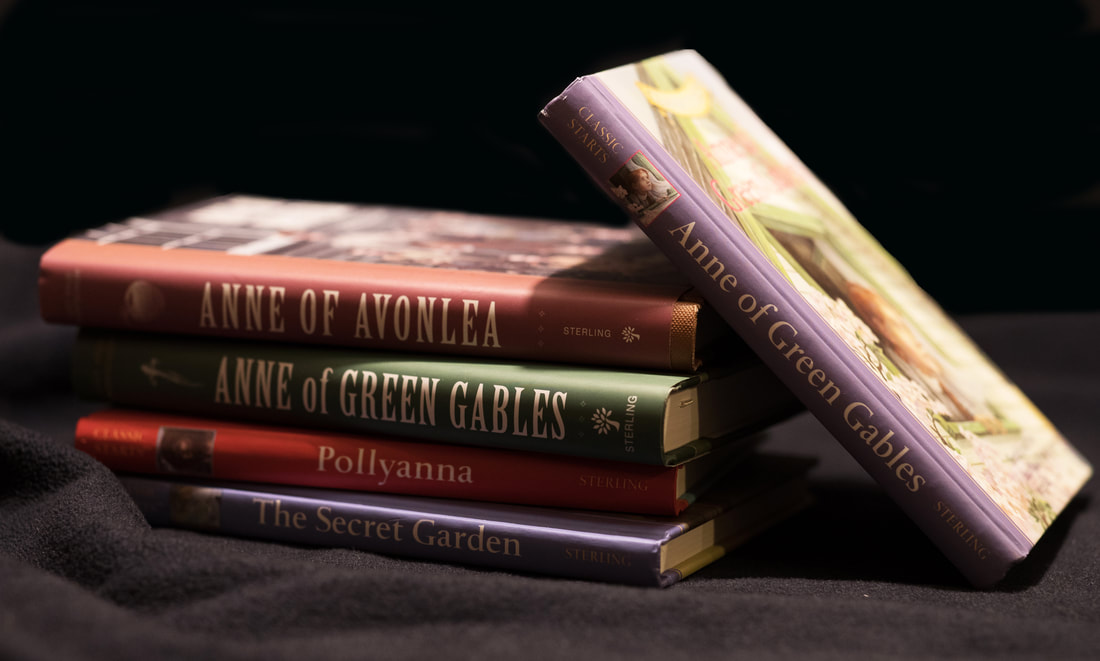
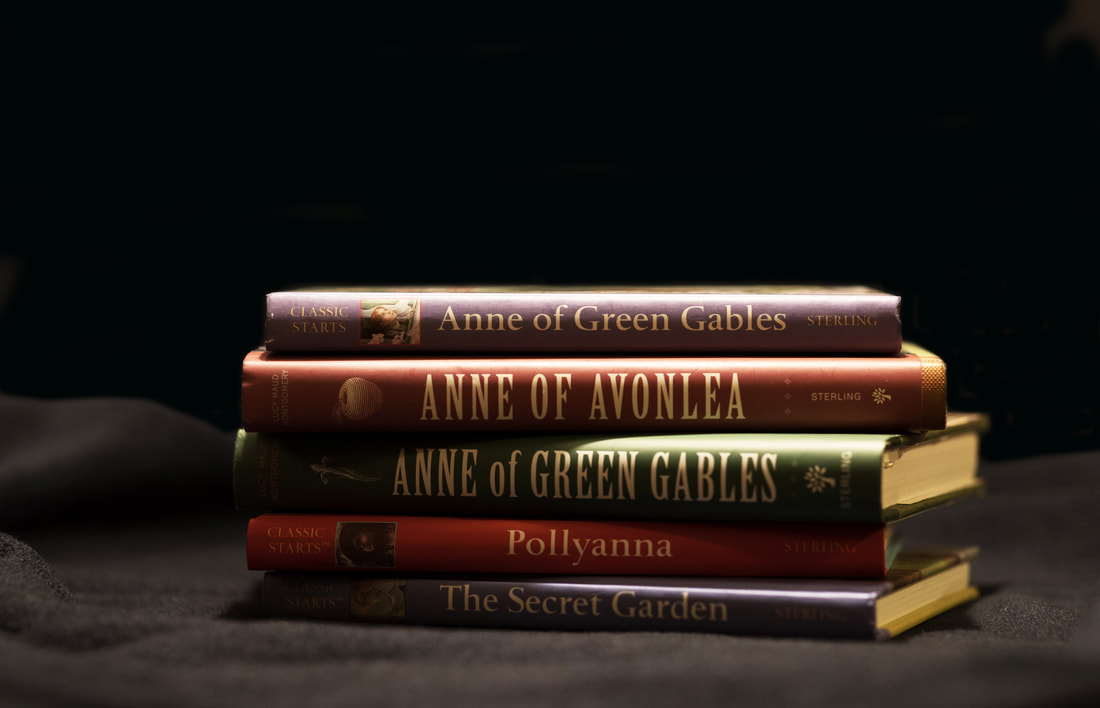
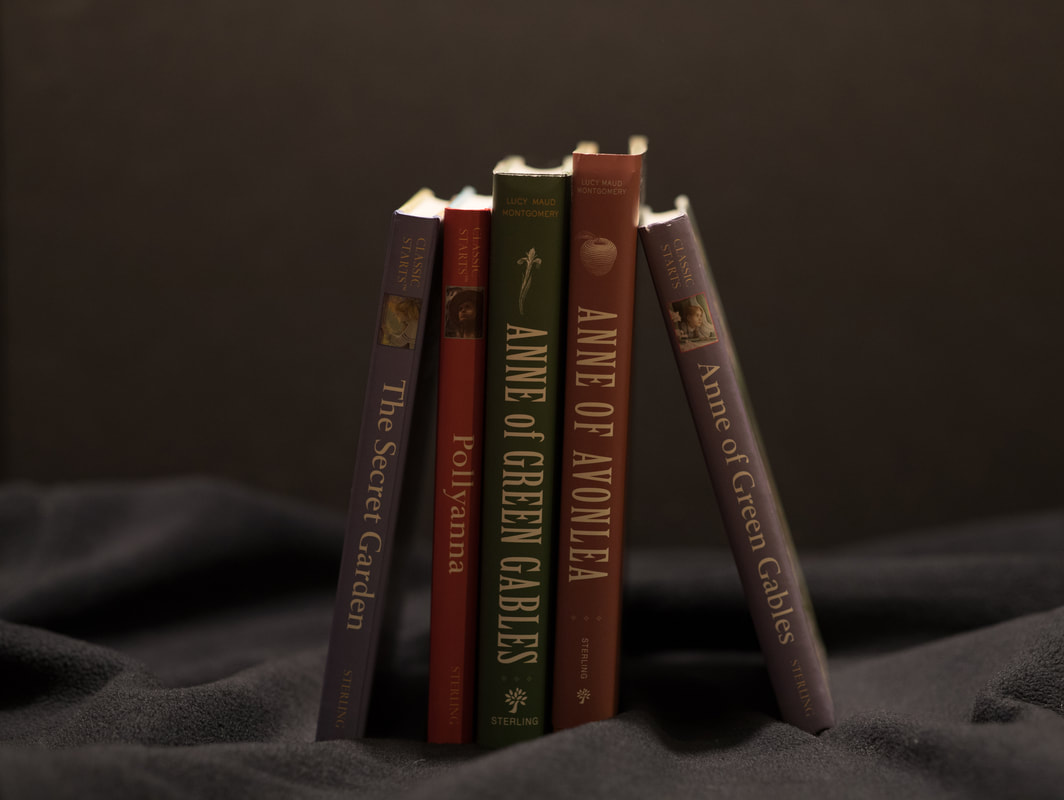
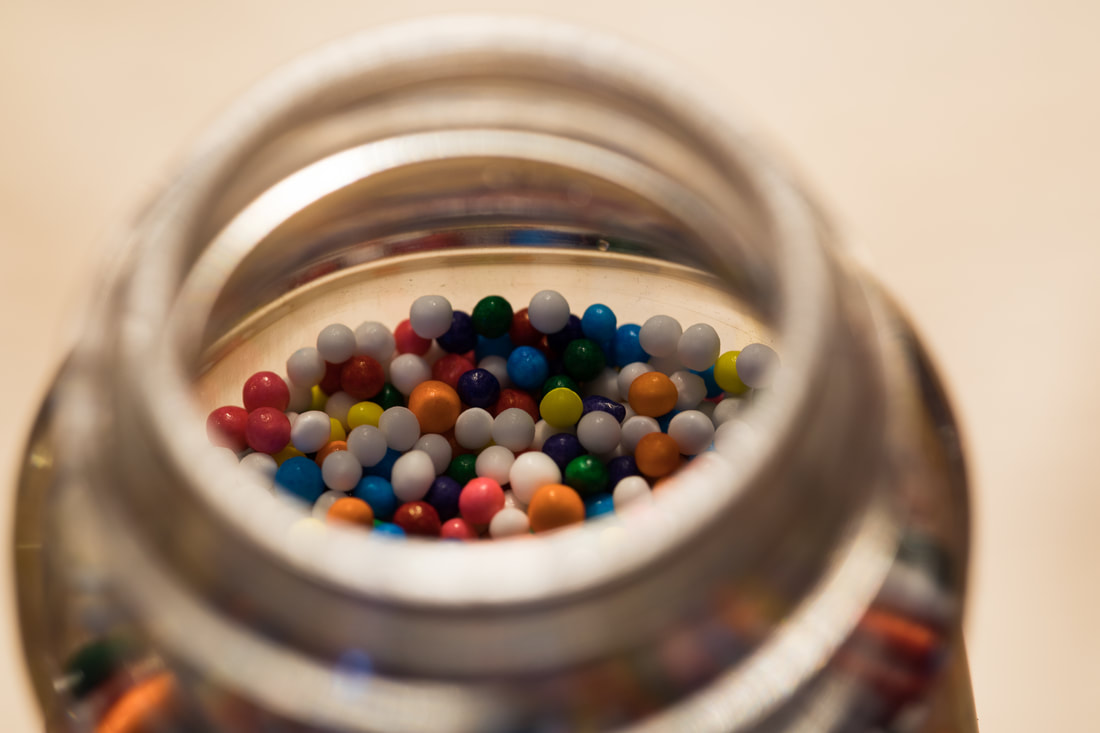
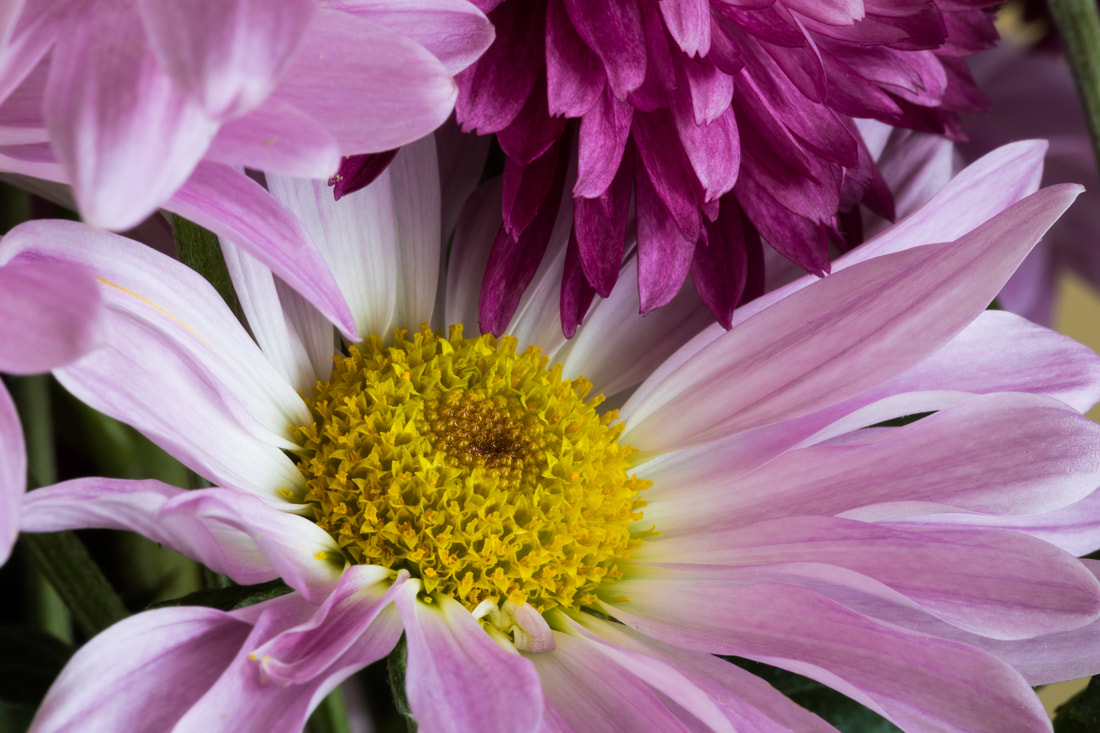
Within Photoshop, I was introduced to lassos and layer masks. Both were simple, efficient, and user-friendly. Even refining layer edges ("black conceals, white reveals") was fairly easy -- far less tedious than working with the quick selection tool. 2/20/2018 0 Comments Photo 5 ~ Macro Armed with an assortment of household objects and the macro setting on my camera, I shot photos close-up this week. Aperture: f 11.0 ISO: 400 Shutter Speed: 1/6 Editing: upped the brightness/contrast I went into this assignment with doubts. I feared that the photos would be dull, boring in comparison to the last few weeks. In the end, however, I was pleasantly surprised. For the first time, I enjoyed capturing inanimate subjects. Underneath a lens and accompanied by proper exposure, these mundane items seemed to transform. Yes, the salt shaker was still a salt shaker . . . but it was an infinitely more interesting one that it had been before. Its details -- the tiny letters, the scratches, even the flecks of rust -- popped onscreen.
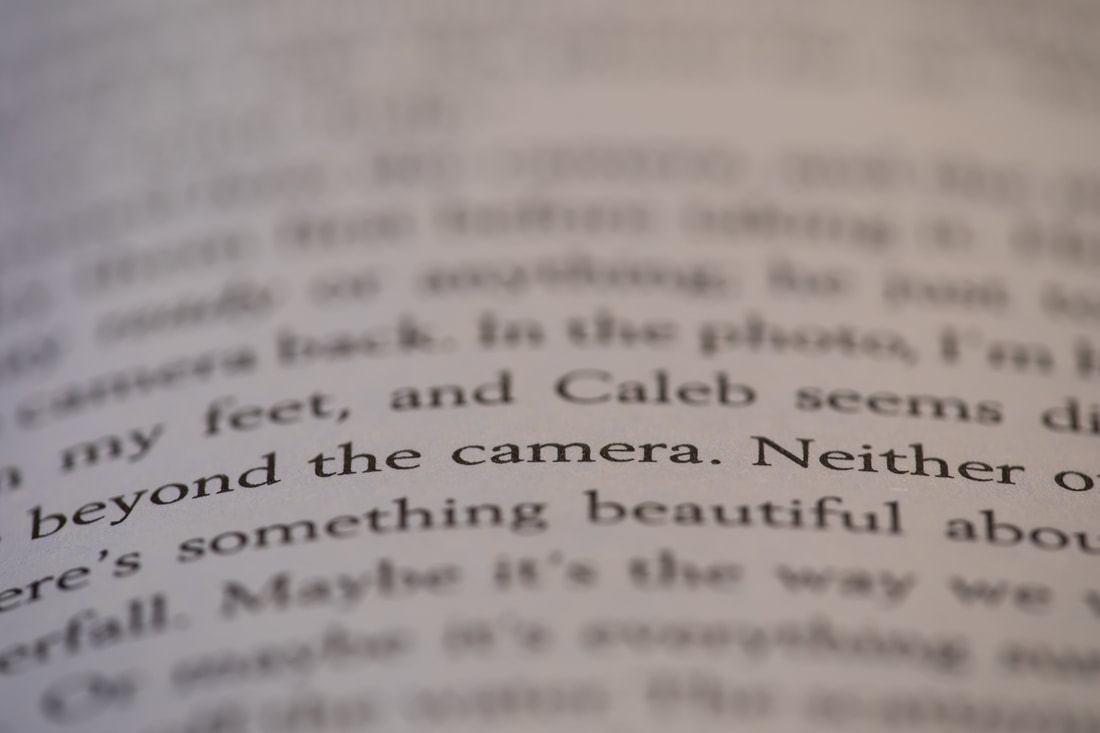
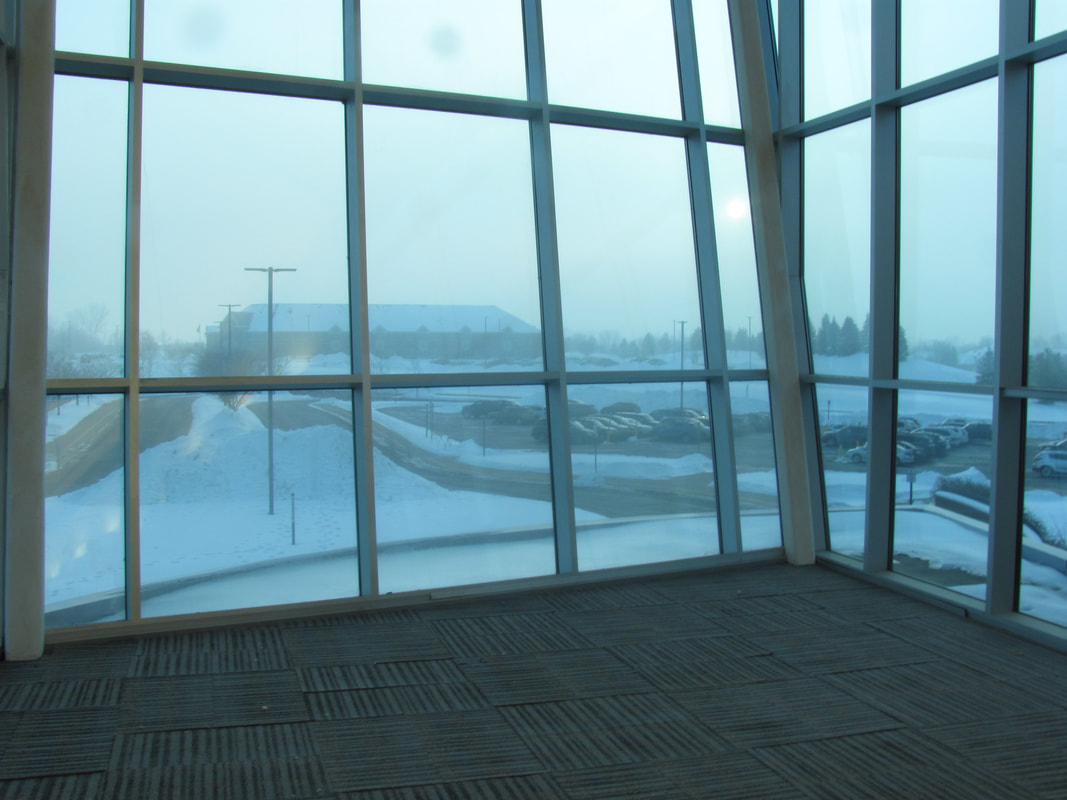
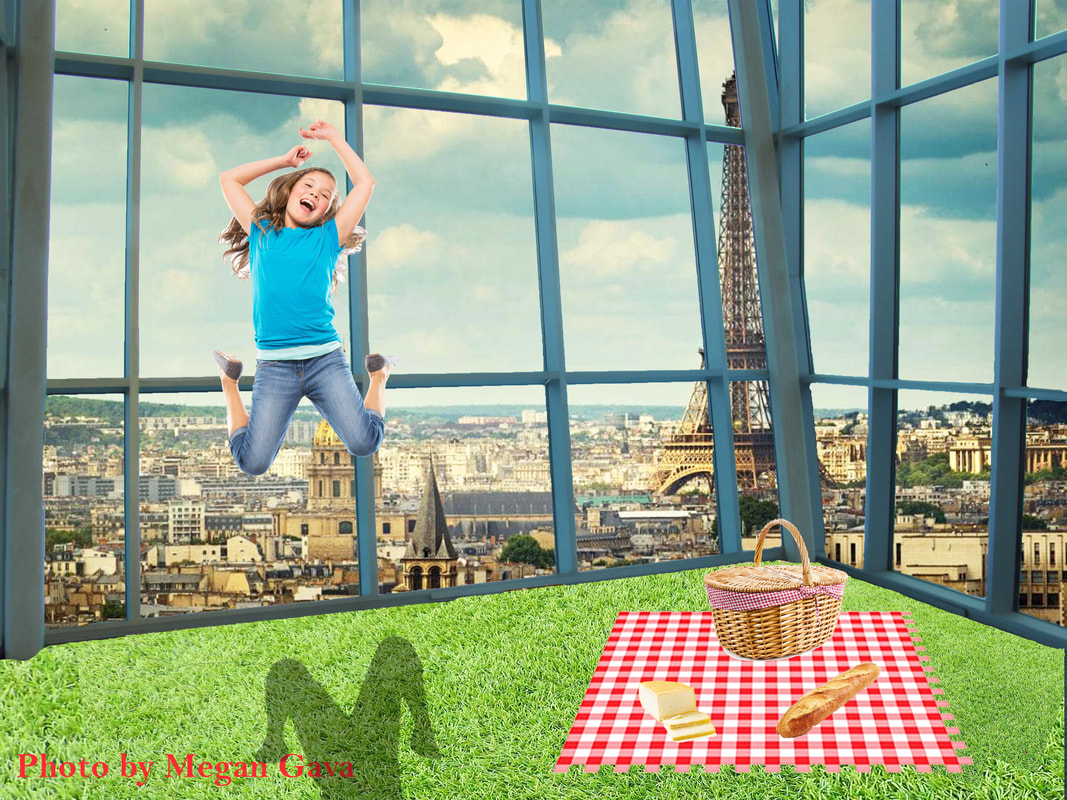
This shoot was valuable in a technical sense as well. Trying to blur the background, while also maintaining light, was a nice review of the exposure triangle. 45 minutes spent manually adjusting the focus has given me a sharper eye for detail. Additionally, my dad took the opportunity to explain focus planes: when taking the photo of the book pages, I couldn't seem to soften the surrounding words, even with a large aperture. My dad suggesting using a tripod to tilt the camera at a steeper angle, thus placing the the different paragraphs on separate "planes." This worked like a charm. In my final shot, the desired sentence is in focus, while the remainder of the page is not. 2/20/2018 1 Comment Photoshop 4 ~ School ContextFor this assignment, I was tasked with transforming my school into a different setting of my choice. First, I snapped a photo of our upper floor balcony. I then scouted stock photos on Google, searching for images that I could cut and paste to fit my chosen theme. Finally, I combined each of those elements and converted this forgotten nook into a Parisian picnic paradise. I loved working on this. Yes, there was an initial bump in the road: selecting every window pane at once was tedious and, frankly, impossible. Once I realized that I could select and erase one at a time, however, things improved. The process was surprisingly simple from then on. My comfortability with Photoshop has increased by tenfold: moving layers is second nature; flipping images takes but a second; creating shadows is a neat skill, and the magic wand (my personal favorite) is now at my disposal.
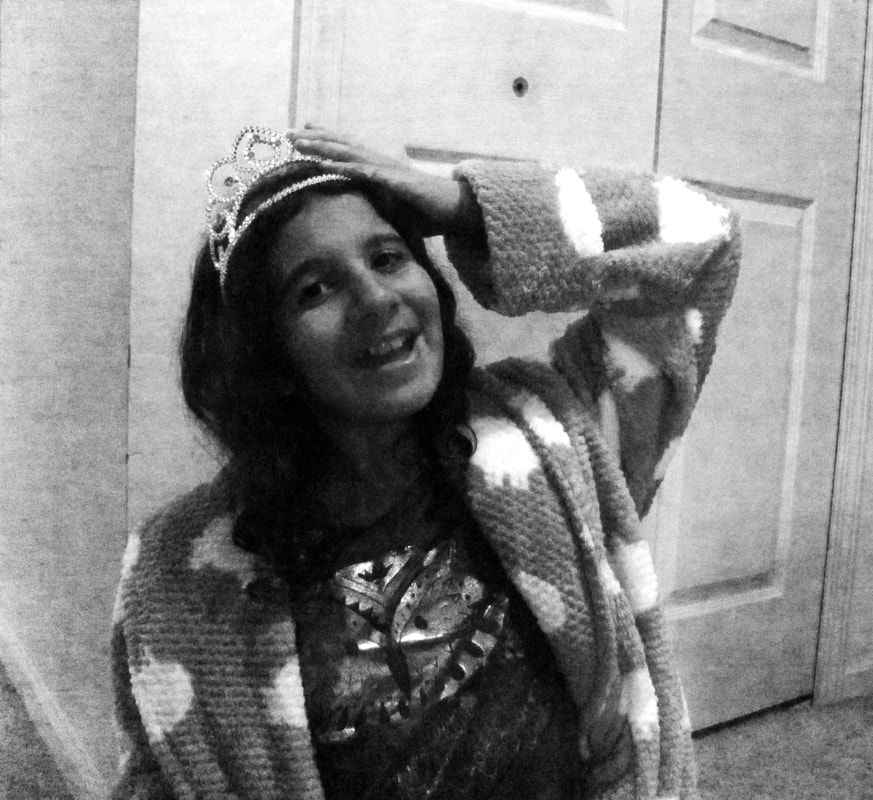
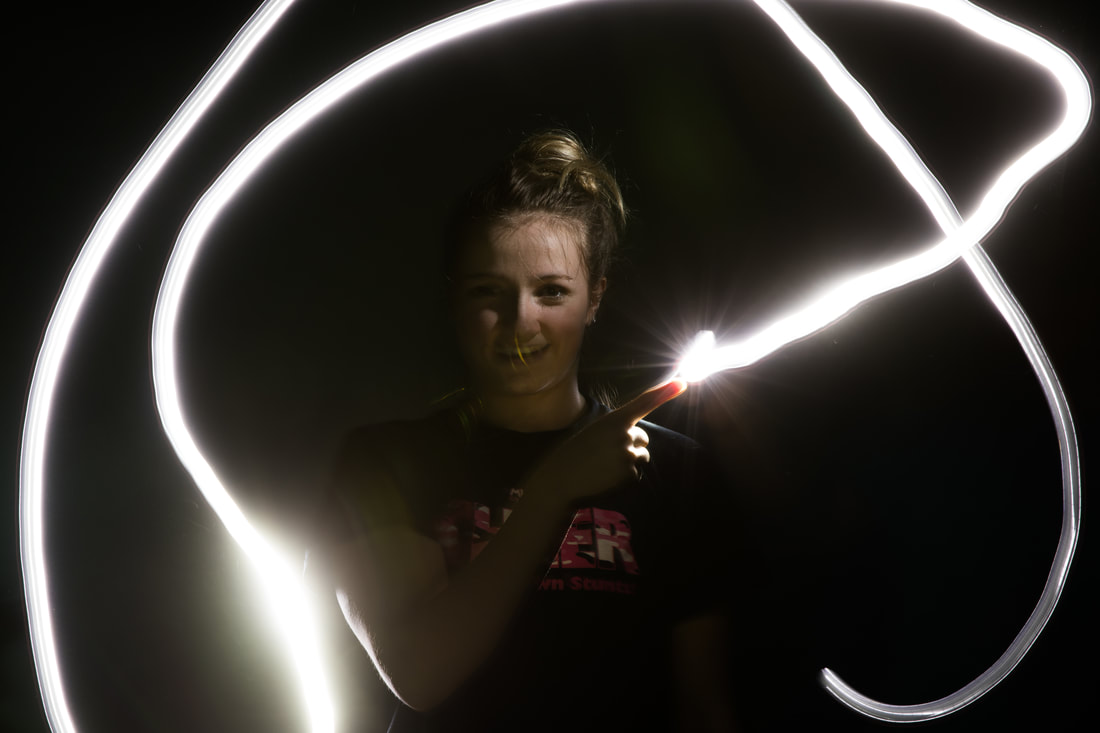
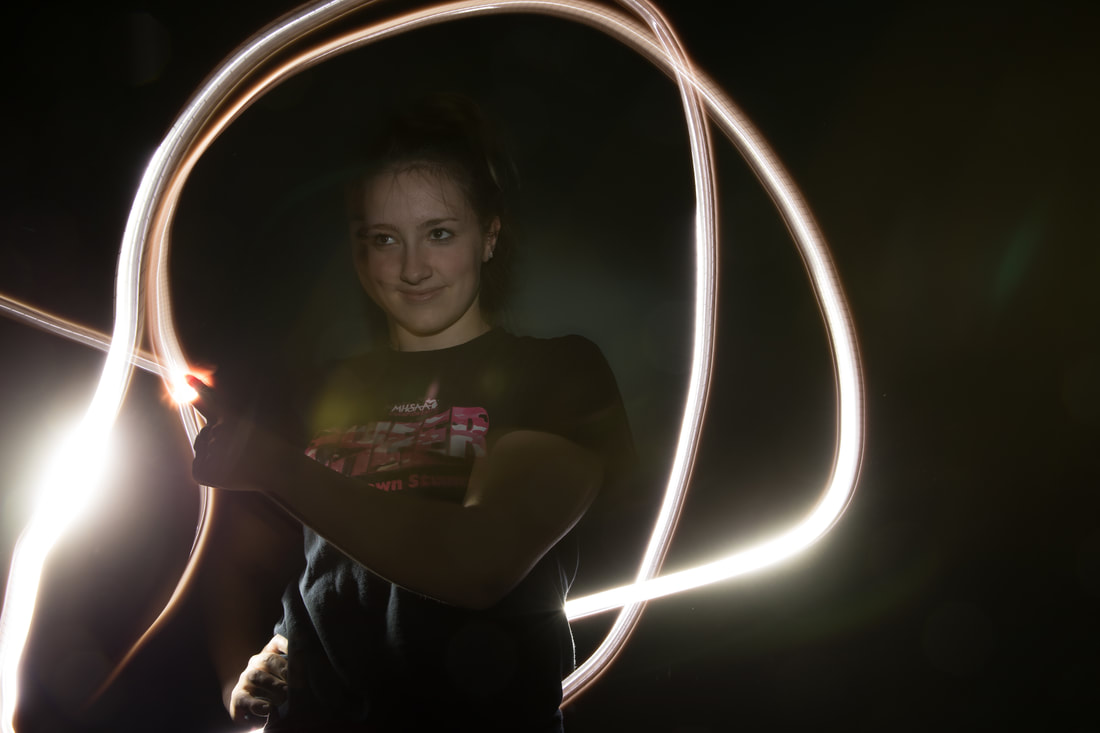
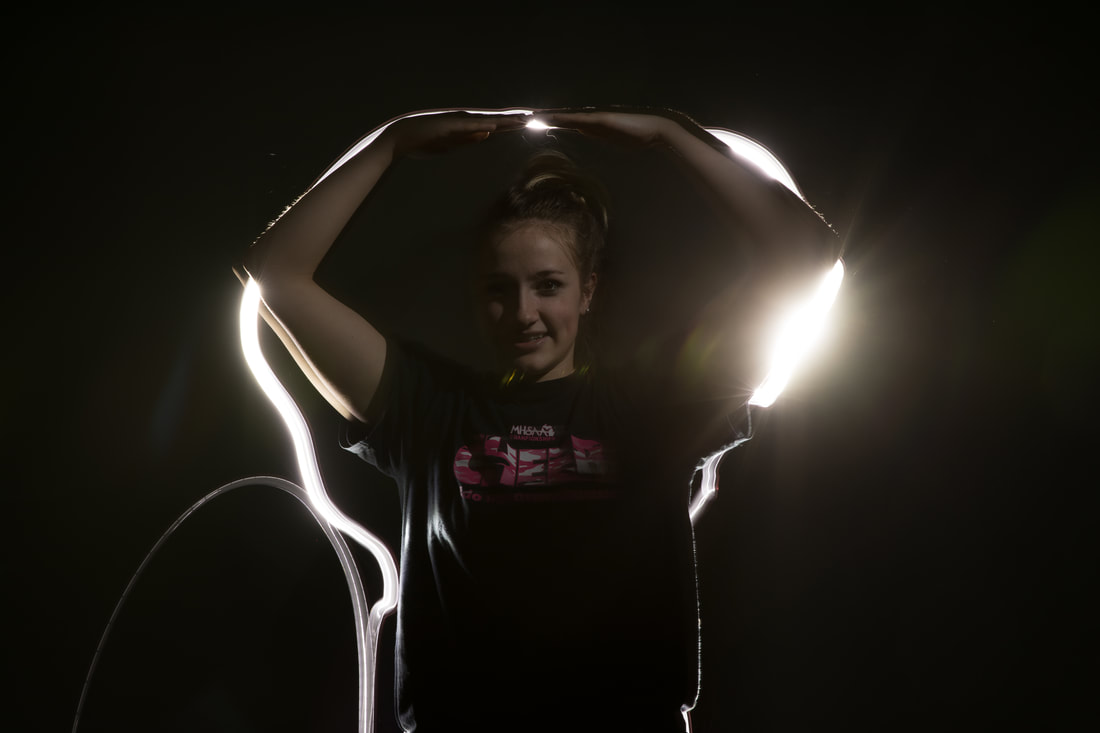
Having conquered those technical aspects, I was free to simply have fun with this -- and that, I did. For the first time, I realized how very versatile Photoshop is; its many tools left so much room for creativity during this assignment, and I took full advantage. 2/12/2018 2 Comments Photo 4 ~ Light PaintingInspired by my childhood obsession with Sabrina the Teenage Witch, I attempted light painting this weekend. This required quite a bit of set-up beforehand: securing the camera to the tripod, and fitting it with a long exposure; closing the curtains and removing any light sources; and finally positioning my sisters in front of the wall (and that's not to mention the 20 minutes spent rummaging around in the junk drawer for a flashlight). While I manned the camera, my dad manned the flashlight. We tried two different techniques: 1) Having my sisters pose, and painting around their silhouettes, and 2) Painting lines of light coming from their fingers, like magic Aperture: f 10.0 ISO: 100 Shutter Speed: 15 secs Editing: upped the brightness by just a bit to make her hand more visible The first technique, we quickly realized, wasn't all that successful. My dad couldn't see well in the dark, so our outlines were shaky, crooked, and often half-obscured by my sister's body. Holding a pose for so long was difficult, which led to motion blur and warped faces in certain snaps. And, finally, we battled lighting issues. Several times, my dad forgot to cover the flashlight when he exited the frame, leaving a meandering ray of light across the shot. We also didn't have his camera set correctly. As it was, the flash was firing at the beginning of the shot, immediately illuminating my sister and capturing our dad's form/shadow in the process. The camera instead needed to flash at the exposure's end, and irradiate my sister after our dad had ducked out of view. This was, my dad taught me, an easy adjustment: simply a matter of shifting from 1st to 2nd curtain flash.
With that new setting in place, we moved on to the second technique. This one was simpler, as there wasn't a specific shape to adhere to, and the final products reflected this. Looking at the photos now, I love the bursts of light at my sister's fingertips, followed by the slightly more faded beams wrapping around her. Although this assignment pushed me out of my comfort zone, I thoroughly enjoyed shooting it. Not only was fumbling around in the dark hysterical, but I've actually come to love tinkering with the camera's settings: it's almost like solving a puzzle. 2/12/2018 0 Comments Photoshop 3 ~ PanoramicsThis assignment focused on capturing expanded shots of our surroundings: panoramics. I took anywhere from 3-6 successive shots of an area, panning horizontally and overlapping each by about 35%. Throughout the entire process, I attempted to ensure that exposure/zoom settings, as well as the camera's perspective, were held constant. Once all photos had been taken, they were inserted into Photoshop and stitched together via the PhotoMerge tool. 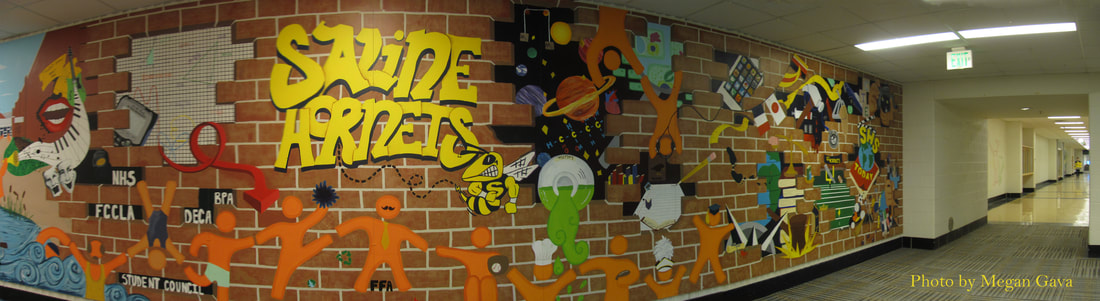 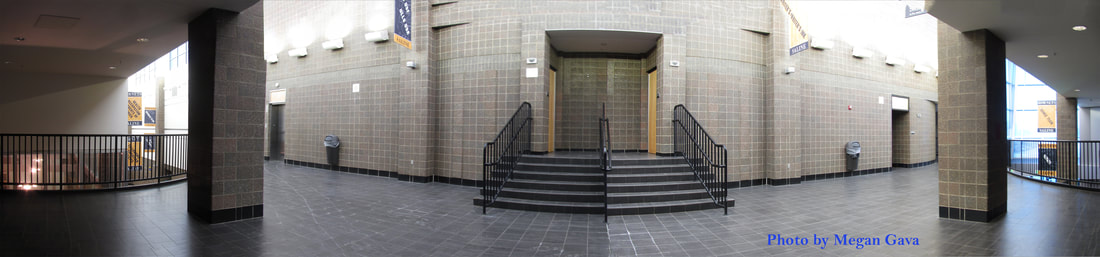 My "Top 2" results can be seen above, while three other attempts can be seen below. Overall, this assignment was frustrating. It involved a great deal of trial and error. There weren't tripods available, and trying to keep my hands perfectly steady was difficult. More often than not, my arms slipped, causing the camera's perspective to shift slightly out of whack; although this seemed insignificant at the time, it did skew final products. Overlapping the images, even with the grid lines as a guide, was also a challenge. On my first 4 tries, PhotoMerge spit back an error message : "Edges could not be aligned, and stitching could not be completed." Even when the pictures could be stitched, the panoramic's edges were still warped -- I had to crop each one by a fair amount to try and fix the issue. If I ever decide to shoot panoramics again, I will definitely use a tripod/solid base to keep the camera level. |